Start with a clear structure
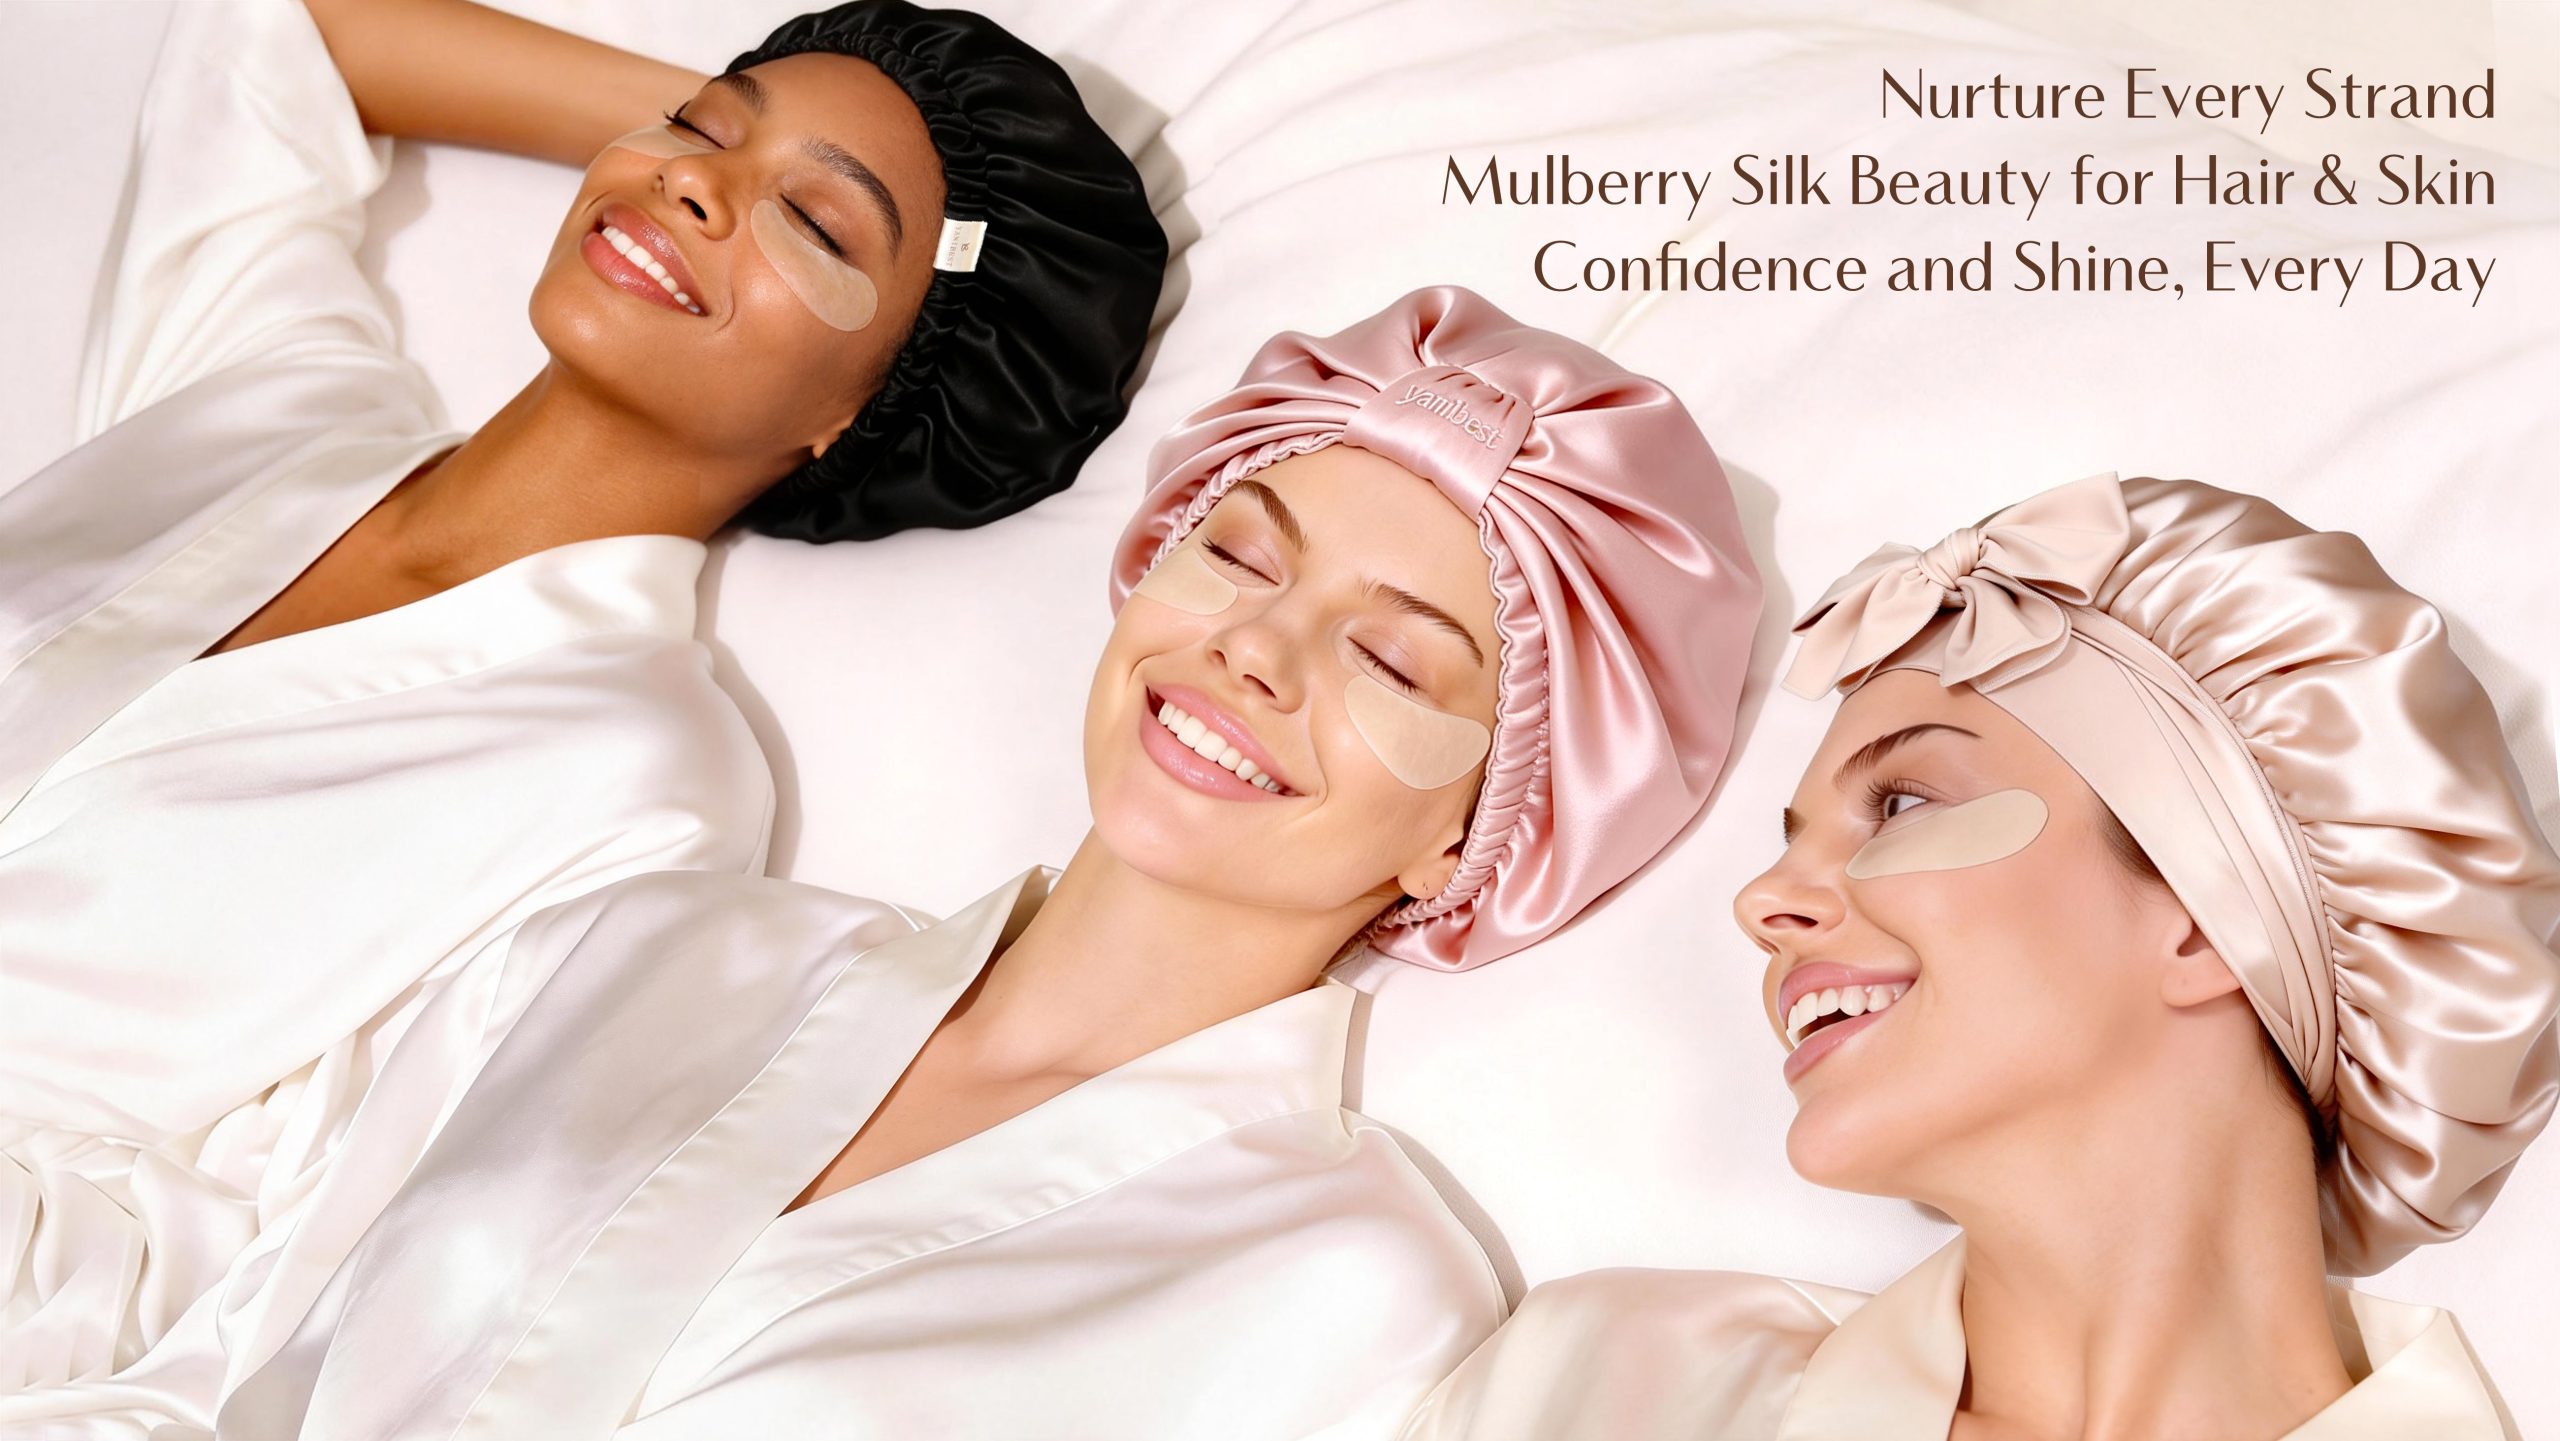
Treat low-heat styling like a design brief: define the outcome, list constraints, and pick tools that respect both. Begin with an easy protective habit — sleeping or lounging in a satin lined beanie so your curls don’t rub, frizz, or flatten overnight. This framework approach prevents scattershot choices and keeps every step accountable to the goal: curl definition with minimal thermal stress.
Step 1 — Audit: know your hair and objective
Measure two things: how your hair responds to moisture (porosity) and what “healthy” means for you — defined ends, springy coils, or long-term length retention. I’ve guided clients for eight years to sort those priorities quickly: high-porosity hair tolerates fewer water-heavy routines; low-porosity hair needs heat-free layering strategies to let moisture in. Decide whether you want daily touch-ups, a twice-weekly styling session, or a no-heat overnight build; the audit determines frequency and which low-heat compromises are acceptable.
Step 2 — Tools and products that fit the low-heat mandate
Choose tools that reduce peak temperature and shorten exposure. Favor low-wattage diffusers, micro-steam treatment caps, and heat guards with temperature control. For chemistry: pick a lightweight leave-in, a gel or cream for hold that doesn’t harden, and an oil for sealing ends. Alternatives to hot tools include flexi-rods, foam rollers, or braid-outs performed on damp hair. Avoid dense creams that never dry — they trap moisture and force you to apply heat later.
Step 3 — A repeatable weekly routine
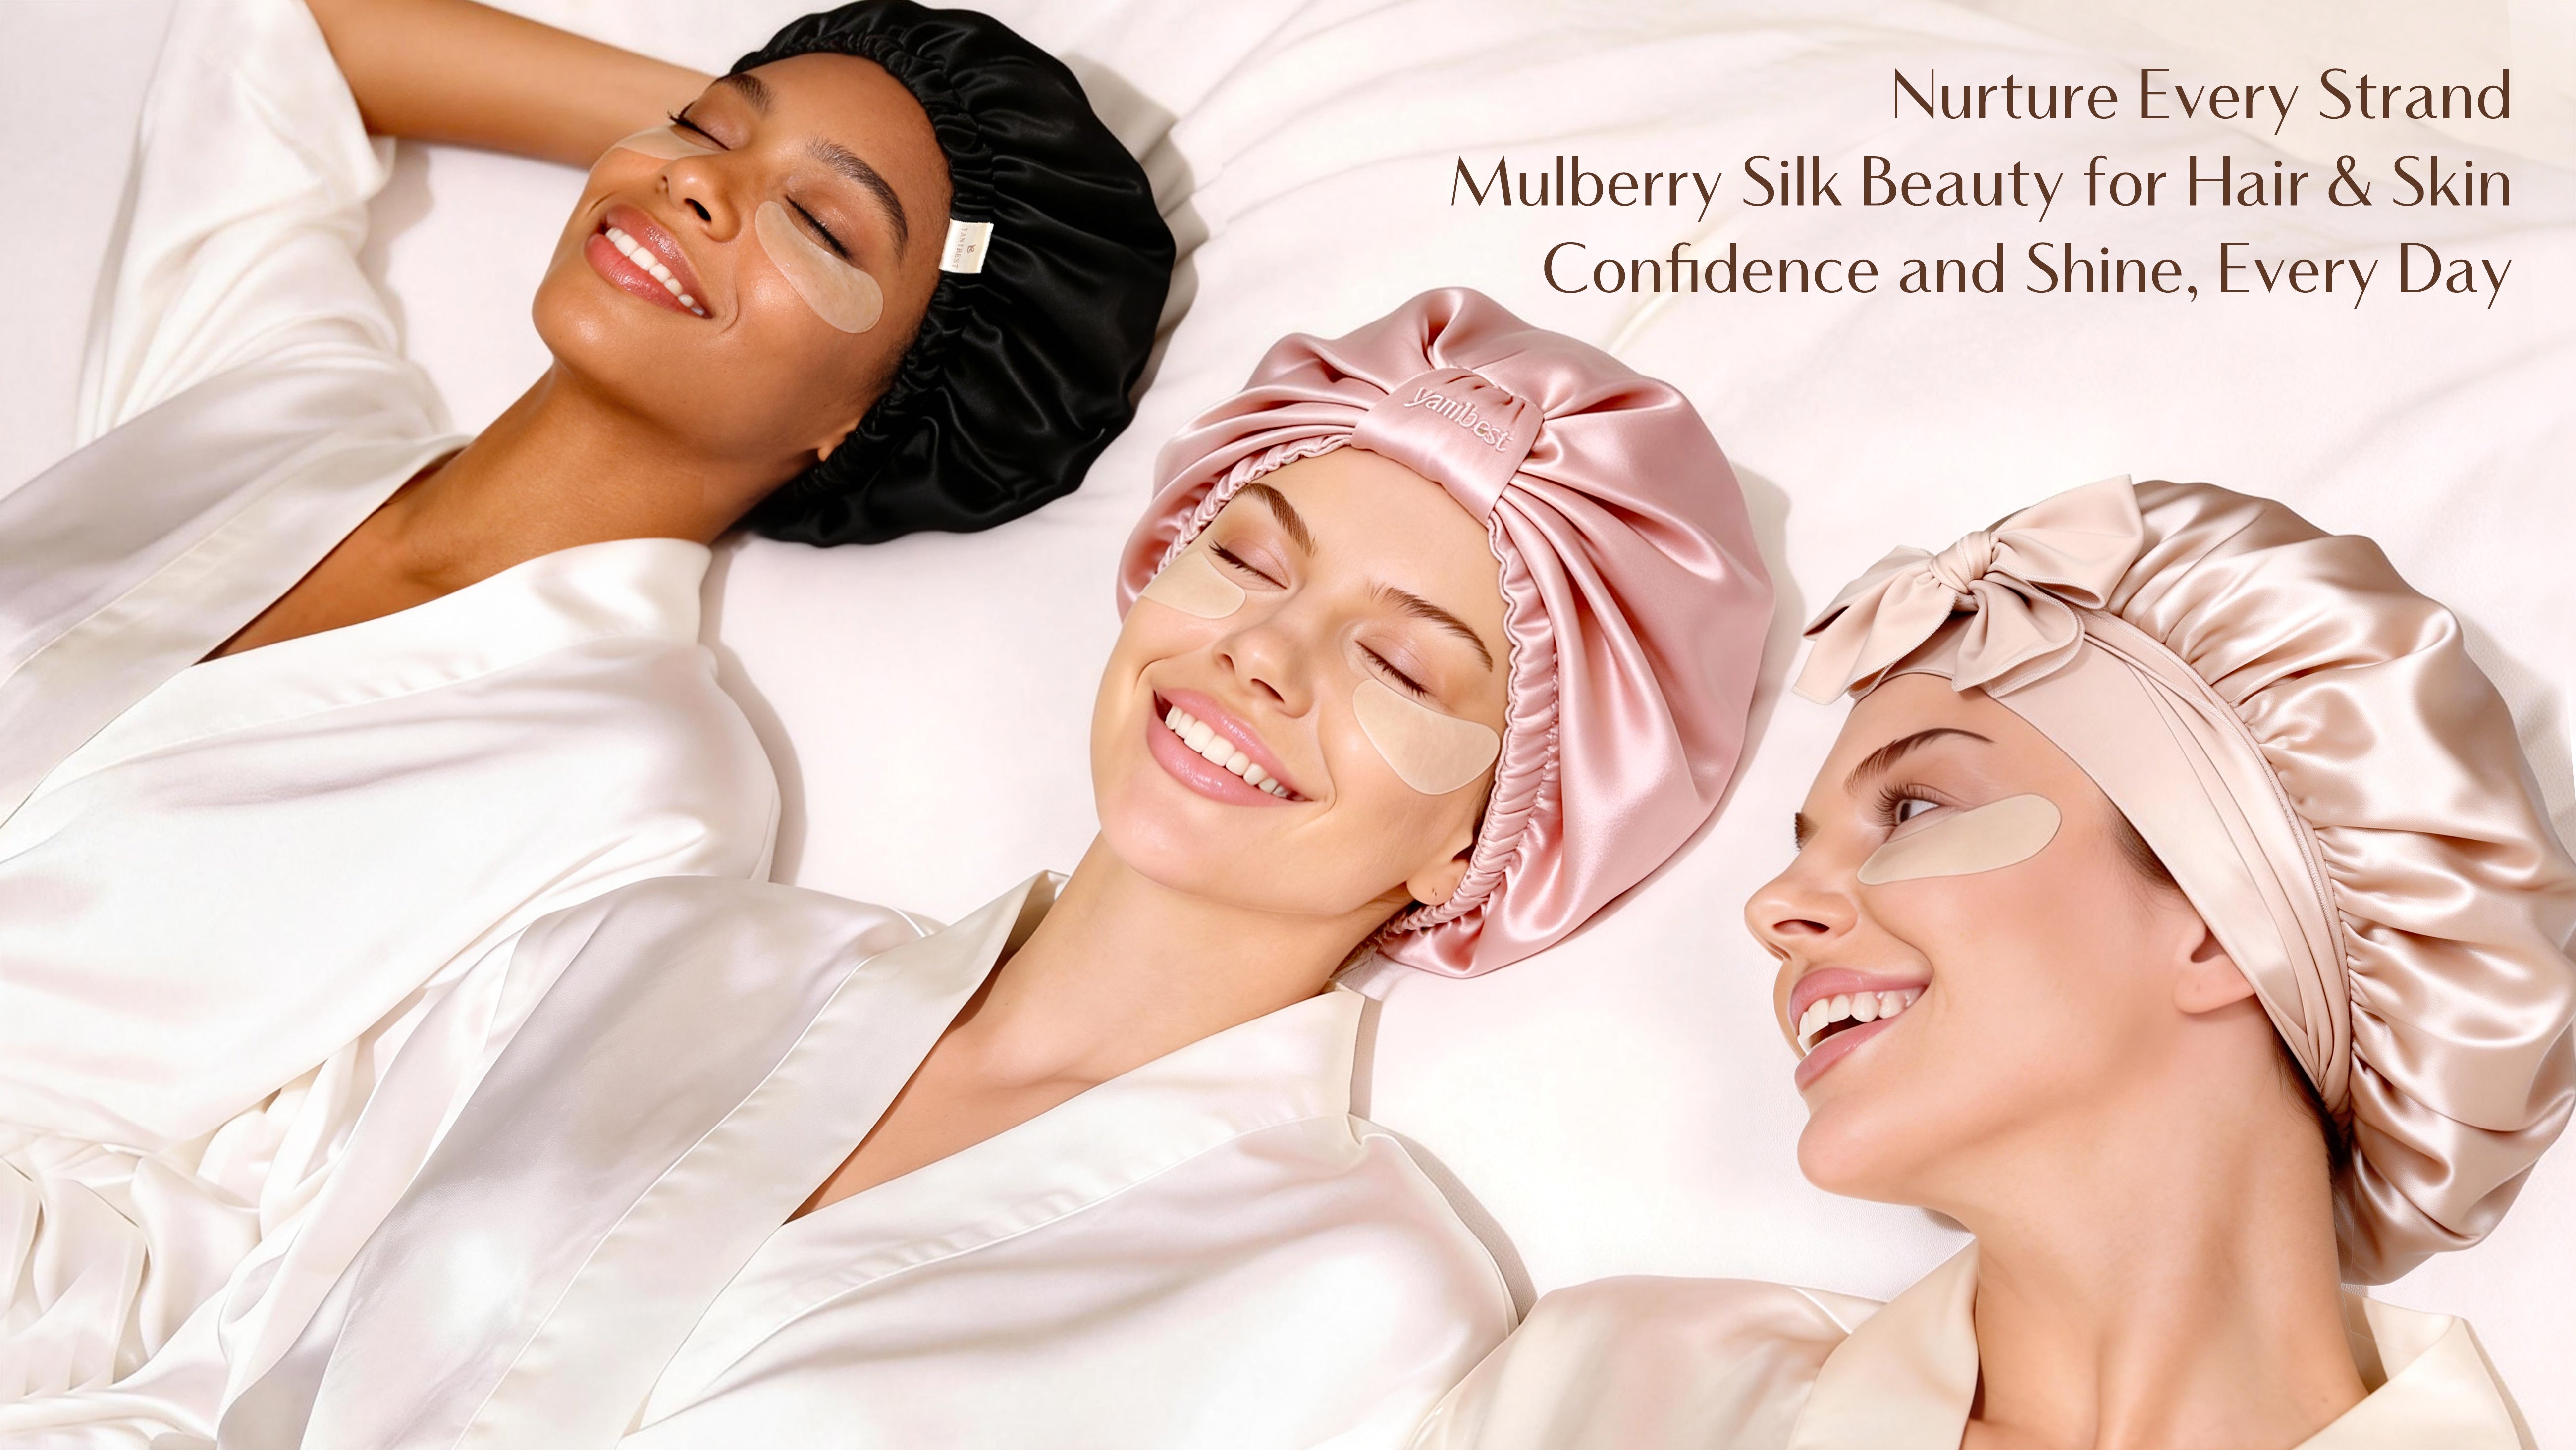
Map days with purpose: wash and deep-condition on one day, detangle and set with heatless methods that night, refresh midweek with a light mist and finger-scrunch, and reserve a short, controlled blast of low heat only when necessary to smooth stubborn sections. Protect hair before sleep with a satin or silk layer; it preserves your set so you won’t chase lost definition with high temperatures. Keep interval rules strict: limit any heated sealing to brief sessions at a moderated temperature, no ritualized daily ironing.
Step 4 — Common pitfalls and fixes
Stop doing these: overwashing, piling on heavy products, rough-drying with a towel, and assuming “no heat” means no structure. If curls collapse, check product density and reduce silicone-heavy serums. If frizz rises, boost overnight protection and sleep on a satin surface. If ends feel cooked, back off on sealant heat and reintroduce protein treatments at measured intervals. Small, targeted corrections keep the routine low-heat without losing style.
Real-world validation
Professional settings stress-test routines rapidly. At New York Fashion Week, stylists protecting models between rapid changes relied on a satin-lined option — a practical moment showing how a satin lined beanie hat can preserve curl integrity during heavy handling. That kind of backstage proof ties the framework to real demand: when time and looks collide, simple protective layers and disciplined low-heat choices deliver consistent results.
Measure progress and iterate
Track three metrics: look (definition and frizz), feel (elasticity and porosity response), and maintenance time. If definition drops but feel remains strong, tweak setting method. If feel deteriorates, reduce any heat and prioritize conditioning. Make one small change each week and observe for two wash cycles before switching again; iterative refinement keeps the framework nimble and honest.
Synthesis
Design a plan, not a pile of products. Use the audit to set limits, choose tools that reduce peak heat, protect curls with satin-lined sleep solutions, and iterate from measurable outcomes. That disciplined framework makes low-heat styling achievable and repeatable — practical steps I recommend to clients and peers, often beginning with a simple satin-lined option from yanibest as the overnight protection that preserves everything you build during the day.