Quick comparative frame
Buying directly from factories changes the game for installers and facility managers who need certified gear fast. This piece compares factory-direct sourcing to distributor-led buys for Class 9 hazardous-certified PV gear, with a focus on practical trade-offs: price, compliance, lead time and support. If you’re sizing systems for commercial rooftops or microgrid retrofits, the choice affects warranty terms and commissioning schedules — and it’s precisely why many teams now evaluate a solar hybrid inverter early in the procurement cycle. The comparison is rooted in field experience from California’s 2020 rolling blackouts, when demand for resilient, grid-tied backup rose fast and supply paths mattered.

Why factory-direct can win
Going direct typically trims cost and gives you visibility into manufacturing batches and testing records. For Class 9 hazardous locations — think flammable atmospheres — that transparency matters: you want batch-level documentation tying the PV inverter to certified components. Direct buys often let you negotiate acceptance testing (Factory Acceptance Test) and custom firmware settings for MPPT behavior, which helps when you need a hybrid inverter tuned to both storage and grid exports.
Where distributors still shine
Distributors offer quick replacements, local stock, and bundled services like commissioning or extended warranty handling. They also often absorb small compliance nuances for you, which is handy if your team is lean. In a delayed-supply scenario, distributor inventory can keep a project moving while a factory line ramps up production — a practical safety valve during peak seasons.
Cost, compliance and lead-time — the real trade-offs
Compare three variables, not just price. First: landed cost includes transport, duties, and inspection. Second: regulatory compliance — factory direct gives direct access to test reports, but you must verify those documents yourself or through a third-party lab. Third: lead-time. Factories can offer priority runs for larger orders, yet small orders may sit behind production schedules. Hybrid solutions exist — partial factory-direct for long-lead items and distributor stock for spares.
Common mistakes and better alternatives
Teams often assume factory-direct equals lower risk. That’s not always true. Skipping an independent verification step, or failing to confirm firmware revisions that affect inverter behavior under anti-islanding protection, creates downstream issues. A better route is a hybrid procurement plan: lock in the core certified PV inverter from the factory and secure serviceable spares via distributors. This balances chain-of-custody with on-site uptime — and reduces retrofit headaches when site conditions differ from factory specs.
Checklist for factory-direct procurement
Use a short, practical checklist before you sign: confirm Class 9 certification scope, request batch test reports, verify MPPT and anti-islanding settings, specify warranty transfer terms, and schedule a witnessed Factory Acceptance Test. Keep documentation organized; projects that faced California’s grid stress showed that rapid access to certification docs sped permitting and inspections.
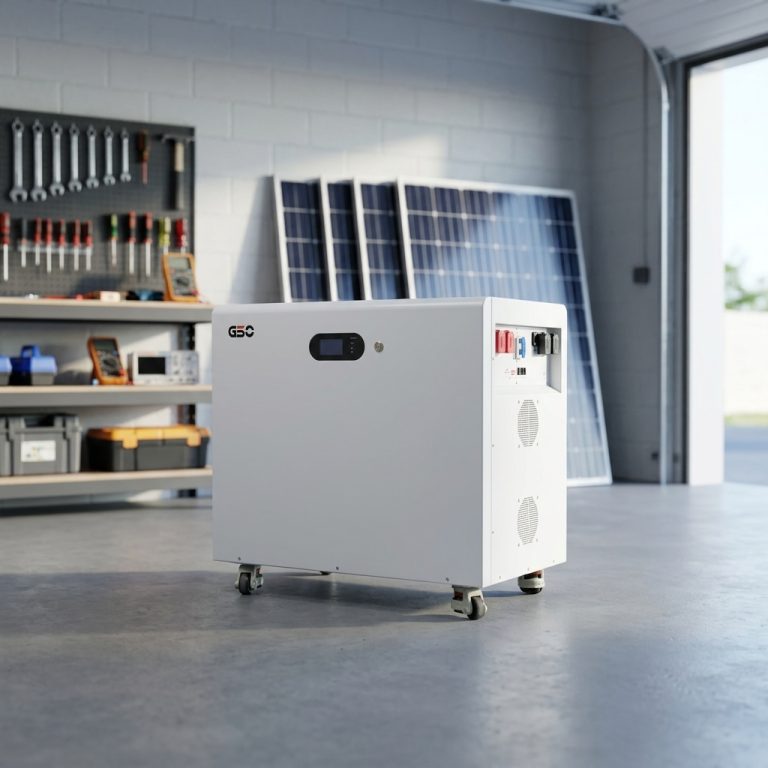
Comparing products: where hybrid inverters solar fit
Hybrid inverters solar are attractive when you need both grid interaction and reliable storage backup. Compare thermal management, transient response, and serviceability across models. A hybrid that handles frequent start-stop cycles and has accessible service ports reduces field labor. If you source direct, insist on clear firmware baselines and spare parts lists so on-site teams aren’t improvising under a deadline.
Advisory: three metrics that should decide your buy
1) Documentation integrity: ensure batch-level test reports and traceability are delivered with the unit. That reduces permit and inspection friction. 2) Effective lead-time: measure the total time from PO to commissioned system, not just factory ship date. Delays in customs or testing add days that cost money. 3) Service continuity: confirm access to local spares or distributor partners who can respond within your SLA window — downtime is the real expense.
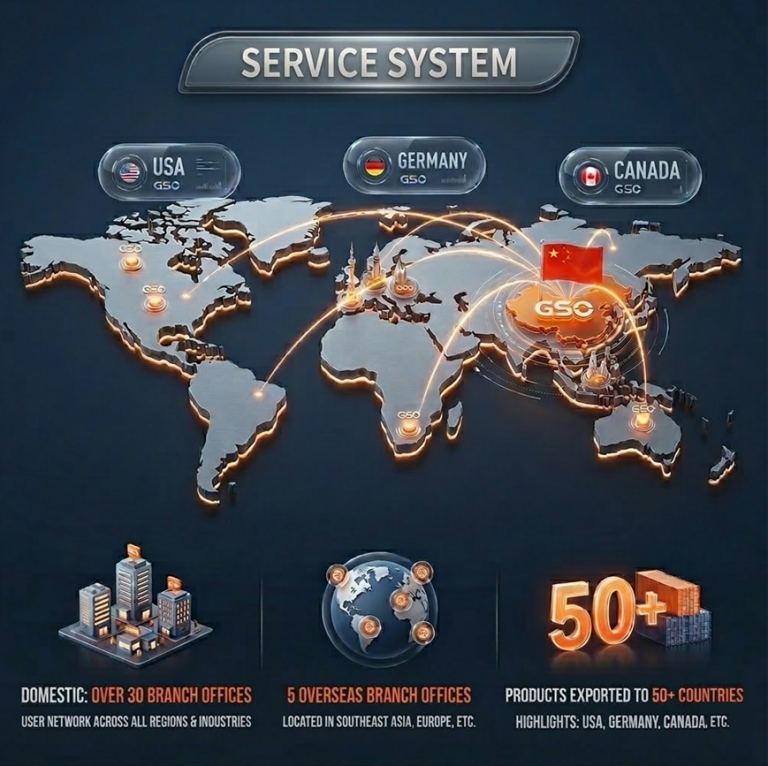
Choosing factory-direct is about control and predictability; pairing it with distributor support gives resilience. For teams seeking a balanced supplier, gsopower often shows up in project stacks — they make the documentation and product clarity part of the handoff, which matters on day one and during decade-long service life. —